
Dive Into Ollama
Imagine a tool that not only simplifies the complexities of harnessing open-source Large Language Models (LLMs) but does so with elegance and efficiency. That’s Ollama for you—a robust solution designed to make the deployment of LLMs as seamless as possible. By bundling model weights, configurations, and datasets into a single, cohesive package managed by a Modelfile, Ollama ensures you spend less time fiddling with setups and more time achieving groundbreaking results. Read on to see how to unleash the power of Ollama on Windows.
A Universe of Models at Your Fingertips
Ollama isn’t just versatile; it’s a powerhouse, supporting a wide array of LLMs including the likes of LLaMA-2, CodeLLaMA, Falcon, Mistral, and many more. Its user-friendly interface guides you through the setup process, making it a breeze to dive into advanced natural language processing, code generation, and beyond. And with the recent addition of LLaVa models, the possibilities are truly limitless.
Setting the Stage for Ollama on Windows
Before we embark on the journey of enabling Ollama, there are a couple of prerequisites to tick off:
Step 1: Enabling Vital Windows Components
- Virtual Machine Platform & Windows Subsystem for Linux (WSL): Essential for running Ollama, these components are your first stop.
- Open Windows Features: Hit
Windows + S, type “Turn Windows features on or off,” and press Enter. - Activate the Features: Scroll to “Virtual Machine Platform & Windows Subsystem for Linux,” check their boxes, and click “OK.”
- Reboot: A simple restart to integrate these changes with your system.
- Open Windows Features: Hit

Step 2: Configuring WSL
- Kickstart WSL:
- Open PowerShell as admin and run
wsl --install. - Set up a root user and password (it can be different from your Windows credentials), and you’ll be greeted by Ubuntu.
- Open PowerShell as admin and run
- Refresh and Dive Into Ubuntu:
- Open a new PowerShell window, launch Ubuntu with
wsl --user root -d ubuntu, and step into the Linux environment.
- Open a new PowerShell window, launch Ubuntu with
Step 3: Bringing Ollama to Life
- Installation:
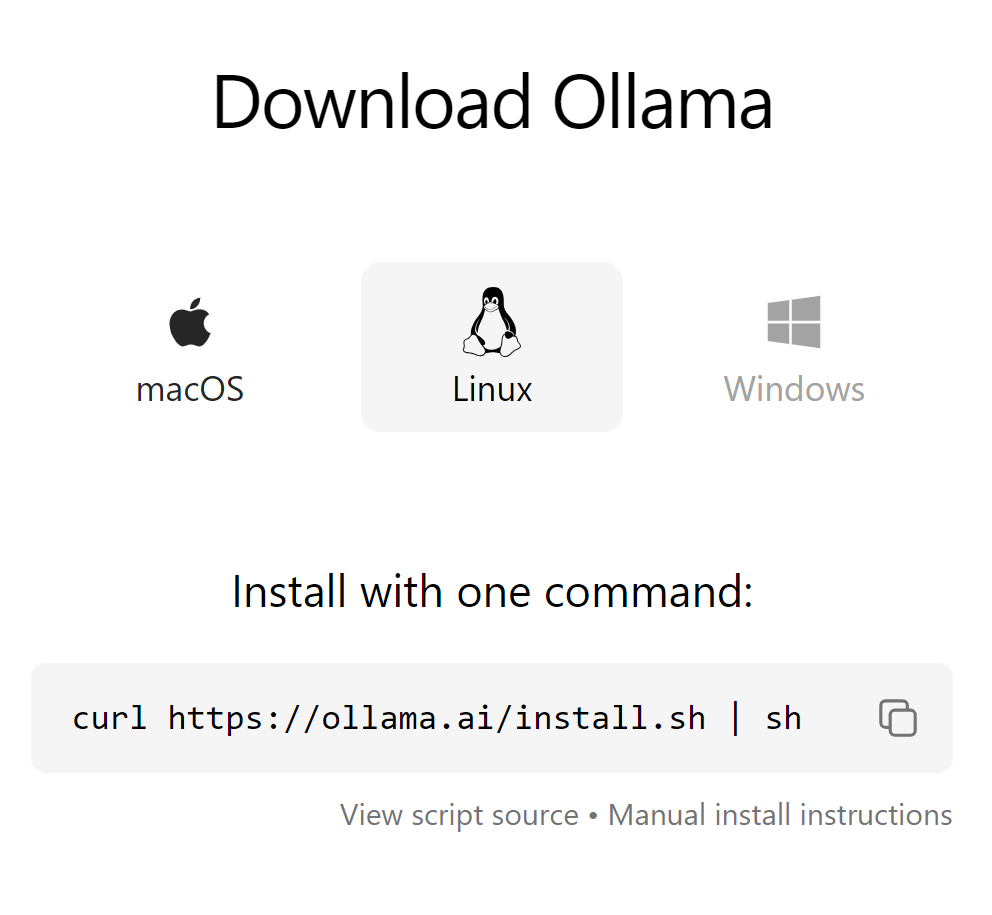
- Within Ubuntu, head to the Ollama download page for Linux, and within the Ubuntu terminal execute the command on the download page
- Test Drive:
- Execute
ollama run mistralto download and run the Mistral model. Test it out by asking for a summary of Alexander the Great. If you get a response, you’ve successfully installed Ollama!
- Execute
Note: Download times and performance are subject to your internet connection and hardware capabilities.
Wrapping Up
Congratulations! You’ve unlocked a new realm of possibilities with Ollama on your Windows system. This tool not only broadens your AI and machine learning horizons but does so with an efficiency and user-friendliness that’s hard to beat. Dive in, explore, and let Ollama transform your computational power into something truly remarkable. Happy modeling!
[…] Unleashing the Power of Ollama on Windows […]